Sunday, November 13, 2011

The Kitchen - Before and After

Before I get started with this post, I have a little disclaimer...

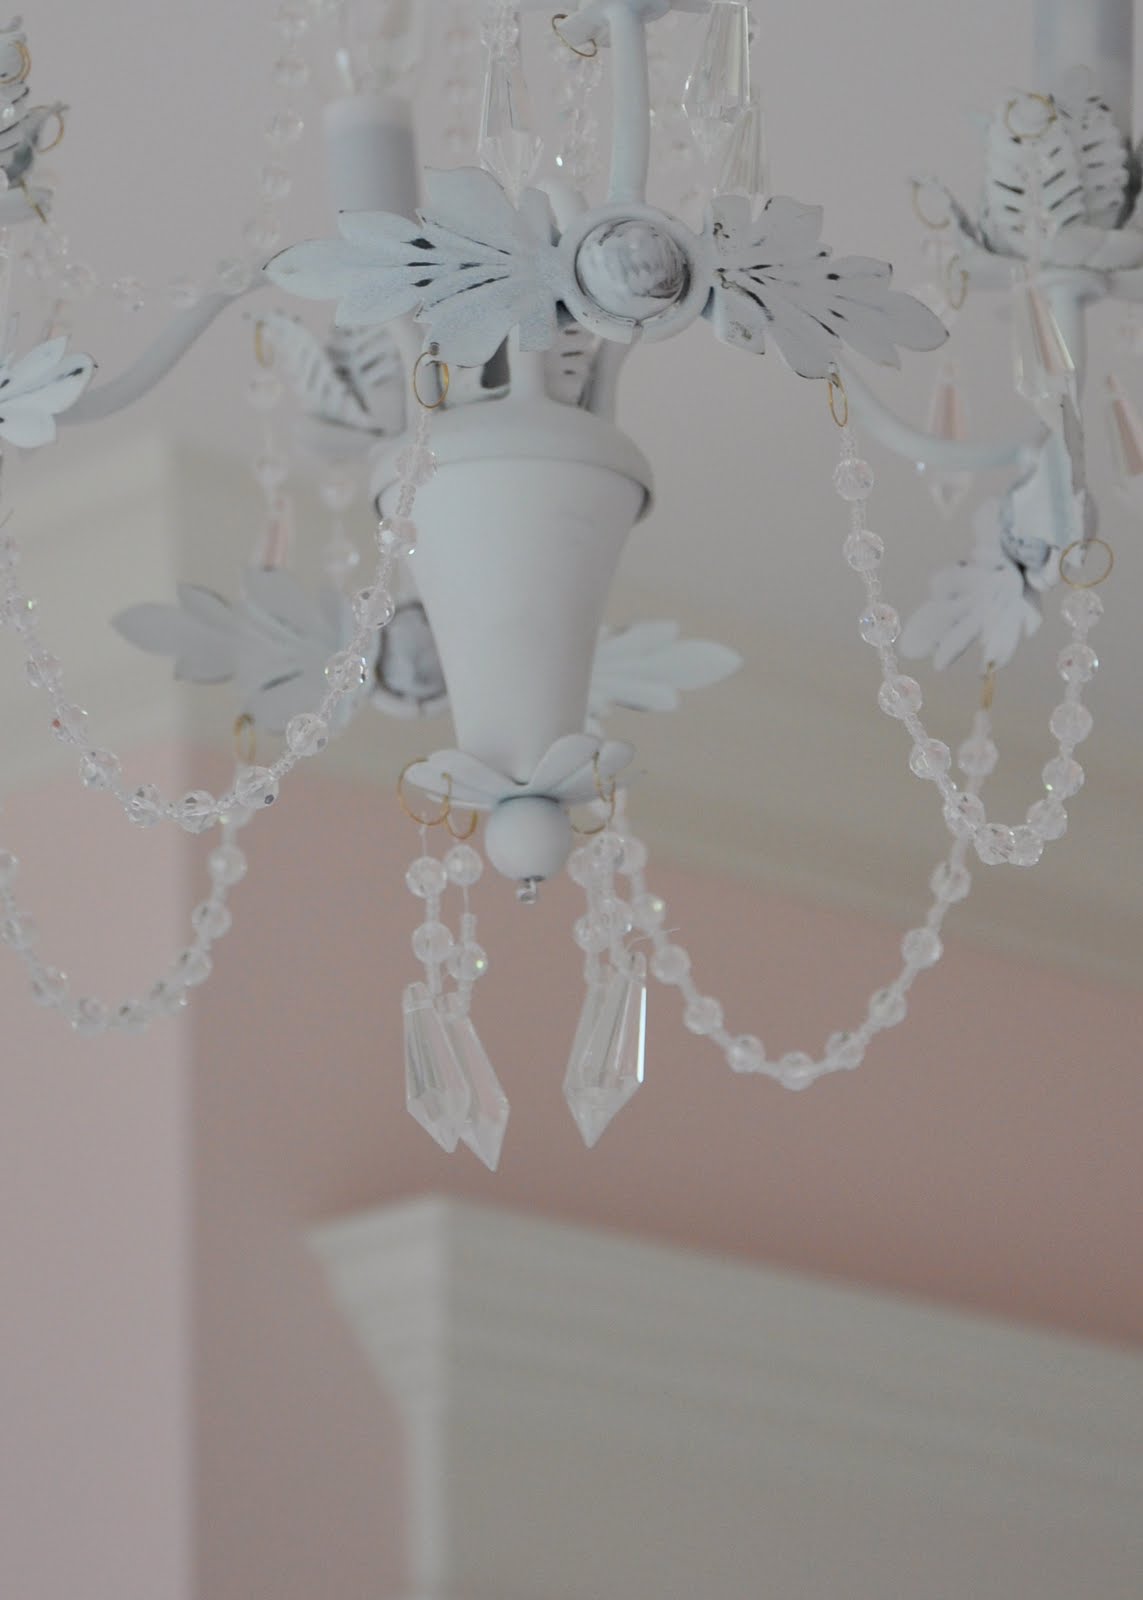
I have debated and debated about showing the inside of our house. To me, it's very personal, and while I love seeing the inside of other people's homes, I feel very vulnerable about showing ours. I'm not out to "brag" or "show off." But if you know me (and most of you don't), then you know that I have a passion for anything house related. Since I can remember, I have poured over shelter magazines, taken every tour of homes I've had time for, and generally adored all things "house." I scoured the internet for ideas when we were renovating this house.

So I made up my mind to show you the inside. You don't have to like it. By no means am I a professional designer or decorator. But I want to share to hopefully give some inspiration and ideas to anyone who may be looking for them. Also, I want to show family and friends who may be interested what we've done. You may notice I interchange "we" and "I." While my husband was involved in the decisions, I had the majority of the opinions and I'm fortunate that he trusts me. Ok, I'm finished. Thank you.

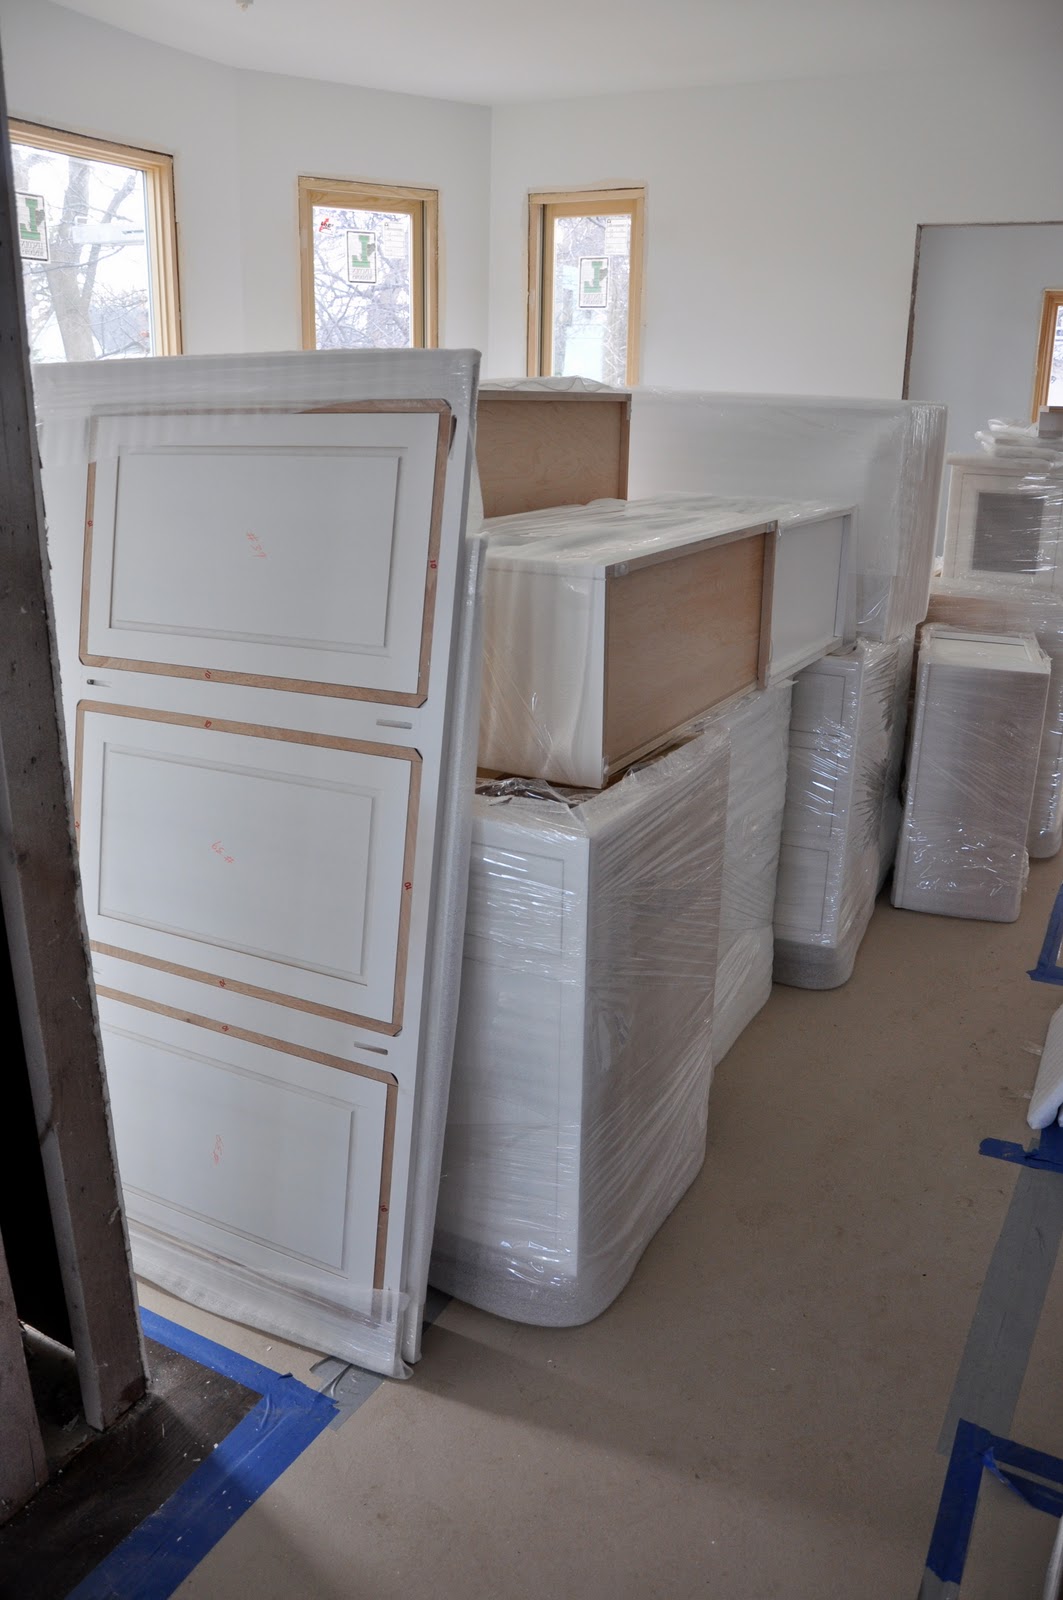
When we bought the house, the kitchen consisted of one wall of cabinets with a sink, a free standing range and a refrigerator. It was added on in the late 1930's when the house was converted to a two-flat. We took out a wall that separated the kitchen from the back stairs (which were also removed) and entry to make a larger space. (You can make each photo larger by clicking on it.)

Before:
After:
Before:
After: (Please ignore the black hole, a.k.a. the television...we have a strict no food in the living room rule and this is the easiest way to keep the crumb crunchers corralled.)
Before:
After:
We tried to keep a vintage feel to the kitchen while adding modern conveniences. We were also working within the original four walls, so we had limited choices on where to place appliances.

We really wanted a vintage-looking range, but most of them are waaayyyy out of our budget. I found a Fratelli Onofri Royal Chiantishire with a vintage appeal. As far as performance goes, the gas burners are powerful enough for what I cook. The oven had a slight learning curve (it's convection) but I've gotten used to it.

We wanted to go with something other than subway tile for the backsplash to be "different." Now I'm seeing lantern tile all over the place. Go figure. I still love it, though!

One of the hardest decisions we made involved the countertops. I wanted Carrara marble. Got talked out of that one pretty quickly by just about everyone. We ended up with Coast Green granite on the perimeter and walnut on the island. I'm happy about our choices, although the walnut is almost as hard to maintain as the marble would have been. We keep it oiled and haven't had any major mishaps so far.
Again, keeping with the vintage look, we went with a bridge faucet and farmhouse sink. You can see a closer view of the lantern tile. In case you're wondering (cause who doesn't?), the Mrs. Meyers Hand Soap in Lemon Verbena smells so good!
Paneled refrigerator=no fingerprints! Although I still obsess over prints on the handles. Oh, well. Can't win 'em all. Another vintage detail...we reused the original wavy window glass in the upper cabinets. 
I absolutely love the spice cabinet and microwave drawer in the island. Keeps everything hidden, yet still handy.
We hope you enjoyed the tour. If you have any questions about specific products or materials, please feel free to ask. Have a Happy Thanksgiving!

Thanks to Susan at Between Naps on the Porch for hosting Met Monday!


Saturday, October 8, 2011

At Last...The Front Porch

I'm baaack! Did you give up on me? I have to tell you that moving into, unpacking and decorating a house with three children (and one is a baby) is no cakewalk. But we did it and I'm ready to share! I hope my friends/family who have been waiting to see will be inspired to come visit. Hint, hint!

*If you are visiting from the Fall Outdoor Spaces linky party and want to skip ahead to the porch, please feel free to scroll down.

A brief synopsis for newcomers, we purchased a two-flat in August 2010 with plans to rehab over time back into a single family home. The original house, located in a small Midwestern town, was built in 1904 and was converted into apartments in the late 1930's. We ended up redoing the entire house all at once and moved in around Memorial Day. Our main goal was to return the house closely to the original. We had an old photograph to use as a reference.

So here she is around 1904:
And here's what we started with:
And finally:

We are thrilled with the results! We are so happy and feel like this house is finally "home."

I was so excited to get my porch to decorate for the holidays! I've filed tons of inspiration photos and the minute I saw the Pottery Barn porch with grapevine pumpkins and crows, I knew I wanted to recreate it. (Forgive me for not showing you the PB porch. It's all over blogland so you've probably seen it. My file uploader isn't cooperating.) I already had the leaf and berry garland, crows, urns and lanterns. I just had to add the grapevine pumpkins and real pumpkins. I used the grapevine pumpkins from Target. They are close to the PB versions and are much less. I also got them on sale, always a bonus!

Here's my version:

Closer view:

On the left side of the porch we have a conversation area. Of course, being the good Southerners we are, we had to paint the ceiling blue! Our builder looked at me like I had two heads when I told him we wanted a blue porch ceiling. I guess it's not that common in the Midwest.

On the right side, we have the swing. It's everyone's favorite! I could sit out here all day. Unfortunately I can't, but if I could, I would!

Thanks for visiting! I hope to return with interior photos soon!

Thanks to Sarah at Thrifty Decor Chick for hosting the Fall Outdoor Spaces Party (which I'm late to but better late than never!) and to Susan at Between Naps on the Porch for hosting Met Monday! Also linking up to 3 Mango Seeds Motivational Monday Party...Thanks, Clydia!

Saturday, August 20, 2011

Patiently Waiting....

I first want to thank all of you for being so patient! I KNOW you want to see the finished product, but I'm just not quite there yet. Unlike having one room to decorate, I have an entire house. I have decorating A.D.D. so I can't just focus on one room. And I don't want to show you the rooms until I feel they are complete, or at least close to it. I promise I'm almost there and I will be back very soon!

On top of all of the house stuff, we've had a crazy busy summer. The boys start back to school on Monday so I'm hoping to concentrate on the house in the next few weeks!

Saturday, May 14, 2011

In the Final Stretch It's...Animal Kingdom!??

Warning: Lots of pictures!

So I'm a little late with the Derby reference, but I had to wait on a few things to get done in order to write this post. We are in the final stretch (more on Animal Kingdom at the end)! We move into the house this Friday! ...Pause while I freak out... I'm sharing little snippets of different rooms because I just can't show you the entire rooms until they're all put together. So sorry to tease! :)

Kitchen:
Dining room:
Library:
Children's bath:
Master bath (mirror not installed yet):
Nursery:
Powder room:
Doors:
The painters still have some work to do. Our kitchen backsplash is to be installed this week as well. Then carpet in the basement and a final coat on the hardwoods. We're so excited!

Now for the animals...who knew that we would have so much wildlife living so close to town? "Town" is literally right across the street but the critters seem to have adapted. These are some of our wild friends...

Sally the Squirrel. Sally hangs out in the hollow of our huge star magnolia. I really want to tame her (don't worry, I won't). I miss having a pet!
Foxy the Fox. Foxy was right outside our door one day. One of the boys said, "Mom, there is a fox outside!" I thought, yeah, right. But there she was five feet from our door!
Gordon the Groundhog. Gordon was running through the neighbor's backyard and I snapped him in motion.
Love it! I'll probably be MIA for a few weeks while we're unpacking. I hope you all have a great Memorial Day weekend! Thanks for stopping by!

Thanks to Susan at Between Naps on the Porch for hosting Met Monday!

Sunday, April 17, 2011

All the Trimmings

The end is in sight! The majority of the trim work is complete and the painters start spraying tomorrow! I'm holding the baby as I type one handed, so I'm short on words. The pictures pretty much speak for themselves.

I do want to note the newel post at the staircase. The original stair parts were in the attic and the "stair guys" were able to salvage two posts and turn them into one. It's beautiful! The stairs themselves, not so much. They still need to be stripped of the yucky carpet glue.


Thanks for stopping by! And thanks to Susan for hosting Met Monday!

Sunday, April 3, 2011

You Can't Always Get What You Want

I had originally planned to do a post about our master bathroom, but I decided to wait for the tub to be installed before posting. So this week you'll see where we're headed in the kitchen.


When designing the kitchen for our house, we wanted to go with a look that would be appropriate for an early 1900's Victorian. The kitchen that came with the house was circa 1940's so we didn't know what the original looked like.

This is the vintage/classic look we had in mind for our house:
Image via Southern Accents, photography by Tria Giovan.

I'm sure almost all of you who frequent the home blogosphere have seen this kitchen by Frank Babb Randolf. I love everything about it. So naturally I had my heart set on recreating this kitchen, including the marble counters. Everyone and their brother tried to talk me out of marble. It stains. Yes, I know. I'll seal it and wipe up spills right away. It etches. Yes, I know. It will be honed to help hide etching. It's not kid-friendly. We're putting walnut on the island, where the monkeys eat. But, alas, my honed Carrara marble tops weren't meant to be. It's not available at any stone yard in our immediate area. I almost cried when I heard this news. Too bad statuary is out of our price range! We just weren't sold on quartz look-a-likes. We wanted light, uniform counters, so we just weren't sure about granite, as it's mostly dark and speckled. 

During my visit to the stone yard I became increasingly worried. Nothing much light or uniform...except for the gorgeous statuary we can't afford. But then I spotted something beautiful and...green? We never planned to have green counters, but a slab of Coast Green granite was calling my name. Dear Hubs liked it, too, (he really wanted granite to begin with) so Coast Green it is! Although I really wanted marble, I probably will be happier with granite in the long run. Especially after one of the monkeys spills juice and doesn't clean it up (which is a daily occurrence). Soon the Coast Green granite (on the perimeter) and walnut (on the island) will be installed on these:
Getting closer! Thanks for stopping by and thanks to Susan at Between Naps on the Porch for hosting Met Monday!

Sunday, March 27, 2011

Fabulous Floors

I never thought choosing a stain color for floors would be so incredibly difficult! I mean this was harder than coming up with our daughter's name. Okay, maybe not, because we deliberated that for months. But it was still a tough decision and one that's not easy to reverse. We wanted a darker stain than what was previously on the floors. Every sample looked too light or too dark or too red or too green or too brown or too charcoal. Plus, we had the added problem of matching the first floor to the second floor. The first floor is red oak and the second floor is pine. The floors are all original except for the kitchen, office, foyer and downstairs hall. These were mismatched and we replaced them to match the living room and dining room.

Here's the kitchen with the new naked floors (and drywall!):
You may be able to see the test patches on the floor under the board. So after much debate and worry, here are the floors with the first coat of stain. We had the floor guy custom mix two parts Red Mahogany to one part Ebony.
I'm in love! Once they're completely finished, they'll be just the right combination of red and brown. The reflection is throwing off the color a little but trust me...they rock! Who knew this would be so exciting? It's the little things.

These get installed this week:
Woo hoo! Now we're cookin'!

Thanks to Susan for hosting Met Monday! And thanks to you for checking in! Next up...the master bath!


Saturday, March 19, 2011

Uncovering the Past

I'm back...finally! I started this post over a week ago and typed most of it one-handed. Little Miss Priss doesn't like to be put down. :)

When we first started the renovations, we hoped to uncover a treasure. We've all heard the stories of people finding old coins, photographs or newspapers during renos. No such luck for us. Apparently past owners never had a hide-y hole or else things have been previously unearthed by others. We did, however, find a date.

We were (and still are) unsure of the exact date the house was built. But from this discovery we learned that these timbers were delivered on or around August 20, 1904.

The previous owners told us that they heard our house was one of the first in town to have electricity. One thing that prompted our total overhaul was the fact that the knob and tube wiring was still being used in some locations! To some of you this may be no biggie, but we were kinda scared of it! All that's left if it now are some of the knobs and tubes.

I'll be back soon with pics of drywall and new floors. Exciting stuff!

Sunday, February 6, 2011

Three Rooms and a Baby

I'll get right to the BIG news...our baby girl just couldn't wait until her due date and was born smack dab in the middle of the Great Blizzard of 2011! We're all doing well and she's as sweet as she looks!
Welcome to the world, precious girl!

Now for the house...

The Foyer
Our house was a two-flat when we purchased it. The front staircase had been walled off so the only way to access the upstairs from the inside of the house was via the rear stairs. This room was used as a bedroom. Here is what the "foyer" looked like before:
And here's the foyer now:
There were stairs hiding behind that wall! The original newel post was left in the attic, so we're having it refinished and reinstalled. The original treads are in good shape under the carpet, so we're having them refinished, also. There is a window seat with a hinged lid in the landing which doesn't appear to be original to the house, but we like it so it will stay.

The Living Room
In the previous foyer/bedroom, there was no opening into the living room. This is the view of the living room before the foyer was opened up:
Now here's the same view with the wall opened up in the foyer:
It's very hard to tell with these photos, but opening up that wall makes a world of difference! The living room seems so much larger. Although we're fairly sure the mantel isn't original to the house, we're going to reuse it for now. The biggest challenge with this room will be arranging furniture with that corner fireplace. We'll cross that bridge when we get there.

The Kitchen
Ready for some retro? Here's the vintage 1940's kitchen that came with the house:
While the kitchen was cute and had vintage potential, these were the only cabinets and the space was very small. We removed the wall between the former kitchen and mudroom/back stairs and here's the space now:
It's now almost twice the size. I can't wait for cabinets to be installed! We're a while from that, though!

Thanks for stopping by to view our progress! Only a few more months and I'll be ready for what you really want to see...the decorating!

Thanks to Susan at BNOTP for hosting Met Monday!